
 307
307
This guide walks through installing and configuring NZBGet on a Chromebook using Linux support. By the end, NZBGet will be connected to SunnyUsenet and ready to access articles.
Enable Linux on Your Chromebook
NZBGet runs through the Linux environment available on ChromeOS.
- Open Settings on your Chromebook.
- Locate Advanced and expand it.
- Select Developers.
- Find Linux development environment and click Turn On.
- Follow the prompts to complete the setup.
Once finished, a Terminal window will open. This is where NZBGet will be installed.
Install NZBGet in the Linux Terminal
After the Linux Terminal opens, install NZBGet through the package manager.
Run these commands:
sudo apt update
sudo apt install nzbget
When prompted, confirm the installation and wait for the process to finish.
Start NZBGet and Open the Web Interface
After installation, start the NZBGet service from the Linux Terminal.
- In the Terminal, run: nzbget -D
- Open your browser on the Chromebook.
- Enter the following address: http://localhost:6789
- When prompted, enter the default login details:
- Username: nzbget
- Password: tegbzn6789
You can change these credentials later in settings.
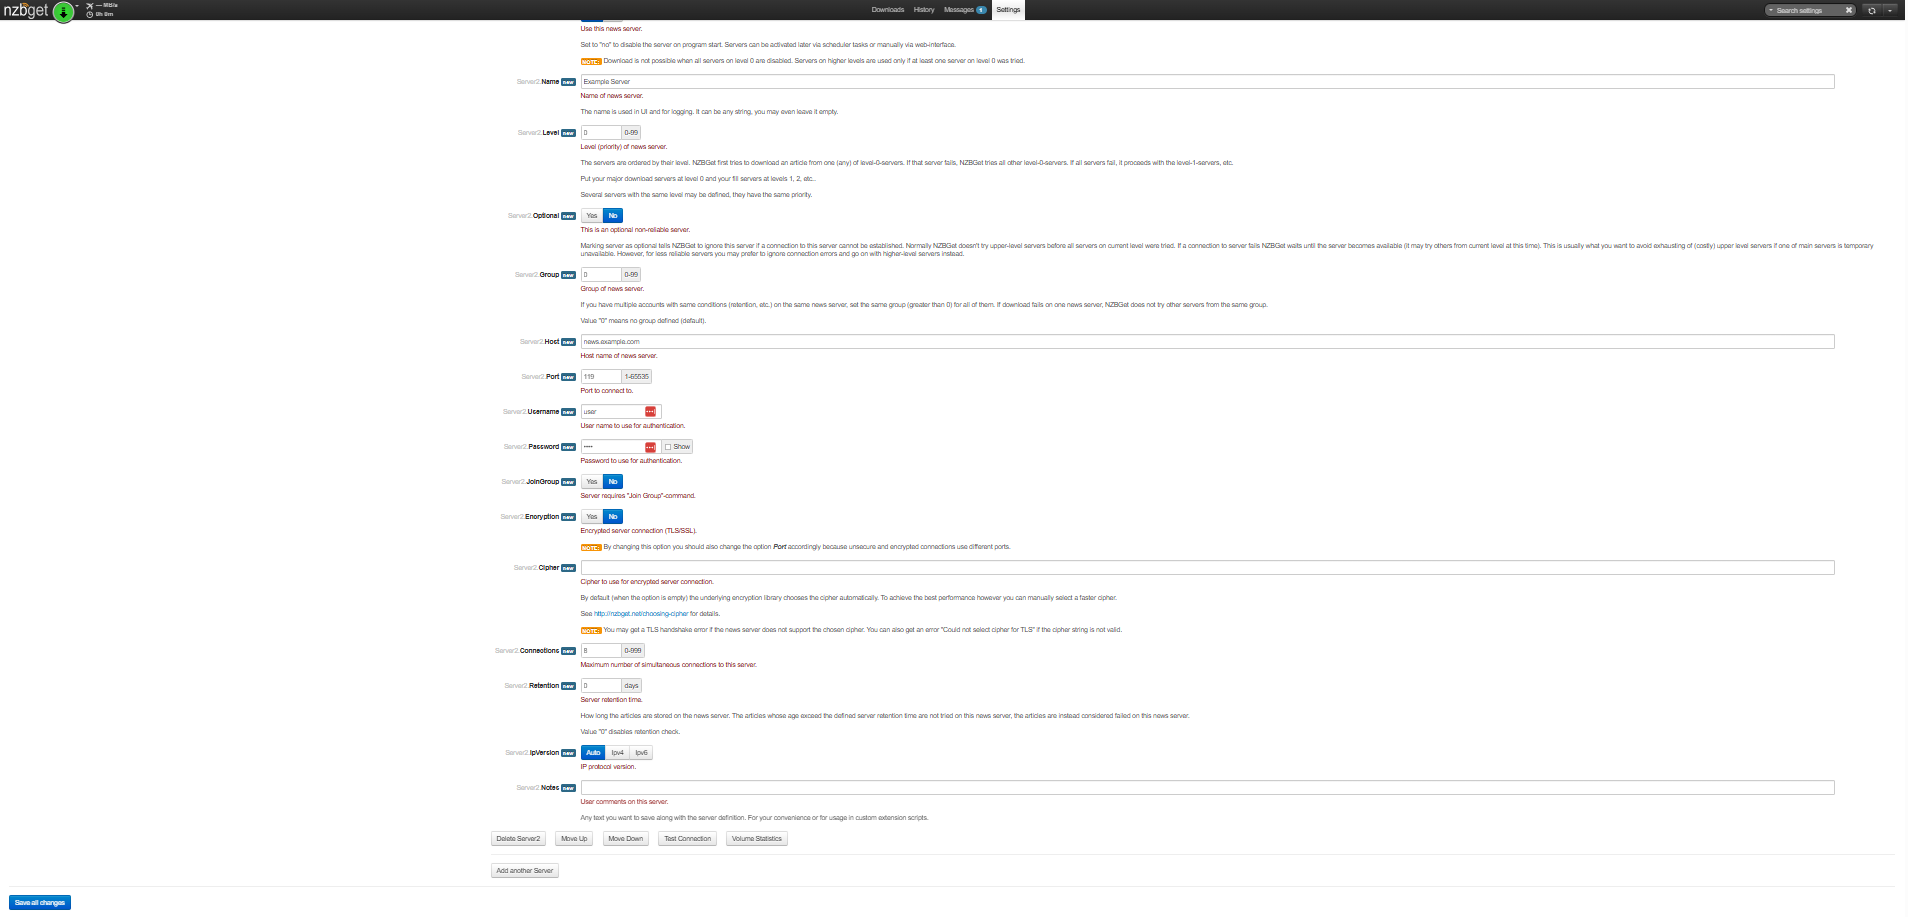
Add Your SunnyUsenet Server
With NZBGet running, connect it to your SunnyUsenet account.
- Click Settings in the NZBGet interface.
- Select News-Servers.
- Enter the following details:
- Name: SunnyUsenet
- Host: news.sunnyusenet.com
- Port: 563 (SSL) or 119 (non-SSL)
- Username: Your SunnyUsenet username
- Password: Your SunnyUsenet password
- Encryption: Yes (recommended for SSL)
- Connections: Start with 20 or match your account limit
SSL is recommended to protect your Usenet activity.
Test the Server Connection
Before saving, confirm the connection works.
- Click Test Connection.
- Wait for the result:
- If successful, a confirmation message will appear.
- If it fails, a dialog will appear. Close it and review your settings.
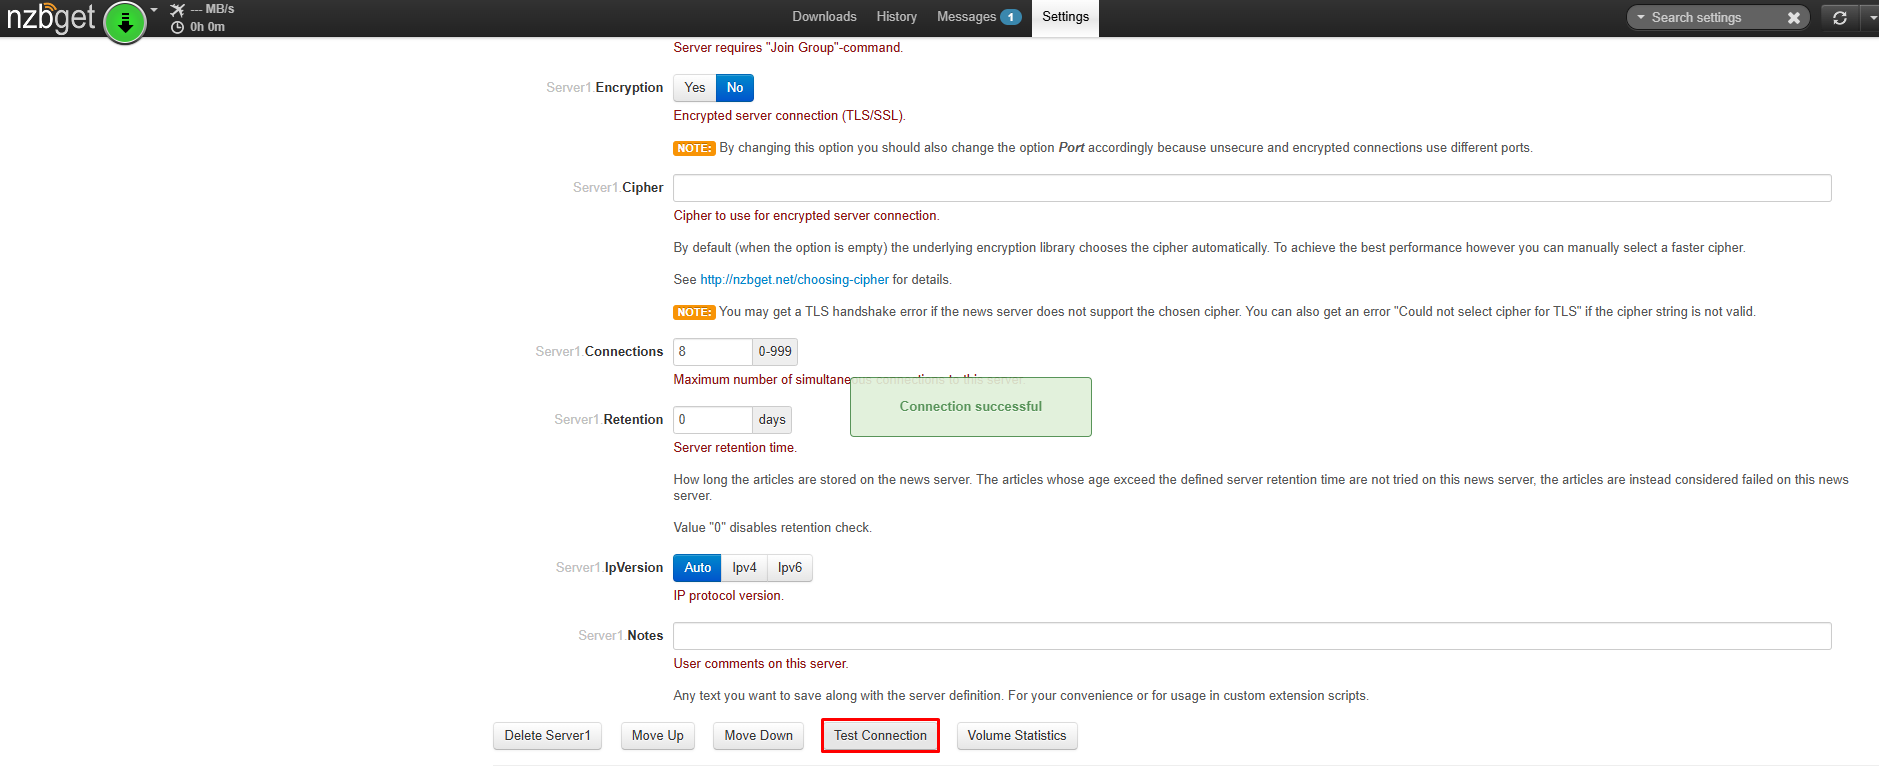
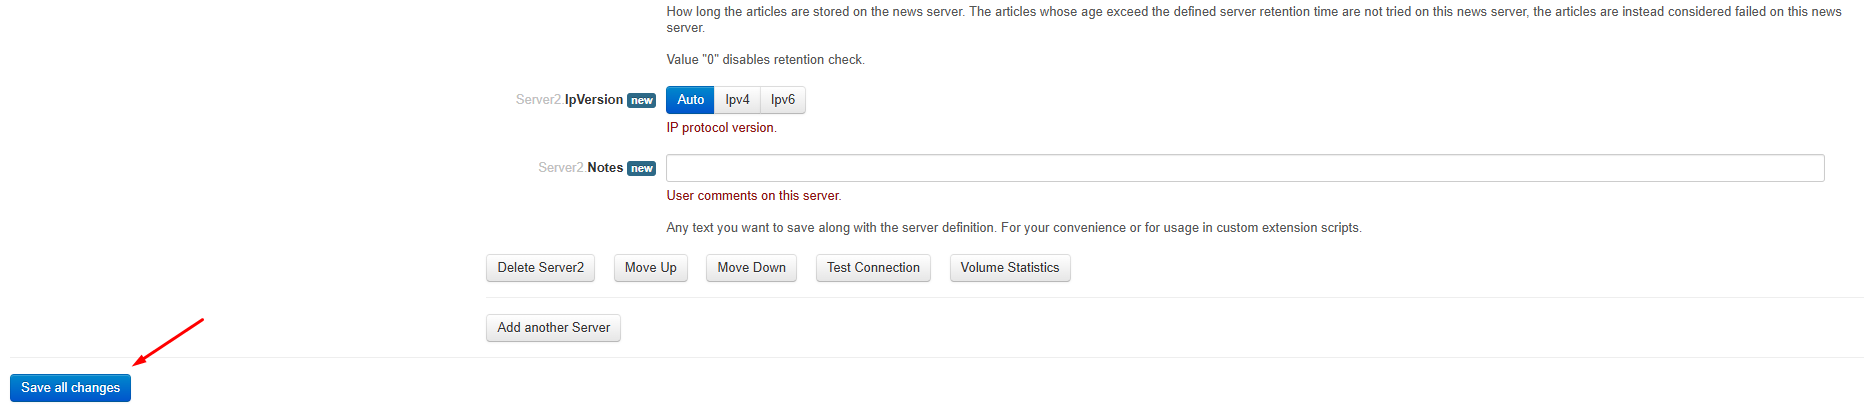
- After a successful test, click Save Changes.
Restart NZBGet and Confirm Server Status
After saving your server settings, restart NZBGet before checking the connection.
- Return to the Linux Terminal.
- Stop NZBGet: nzbget -Q
- Start it again: nzbget -D
- Go back to the NZBGet Web interface.
- Open Settings → News-Servers.
- Check the status indicator next to your server.
A green or active indicator confirms the connection is working.
If the server is inactive, review your hostname, login details, and port selection.
Next Steps
NZBGet is now installed on your Chromebook and connected to SunnyUsenet. From here, you can:
- Add NZBs through the Web interface
- Configure categories and directories
- Connect a Usenet search service for easier access to articles

